 Carrots as a main crop are well worth growing. They can be temperamental, but once you get the hang of it you can grow all the family needs for six months of the year. Carrots are not a posh crop like asparagus or melon, but the flavour when they come straight out of the garden and are on the plate within half an hour cannot be beaten by anything in the supermarket.
They can be planted between March and June for harvesting from July to April Overwintering is easy either by lifting and storing, or as I do, leaving them in the ground where they will keep best with little or no protection.
Preparation
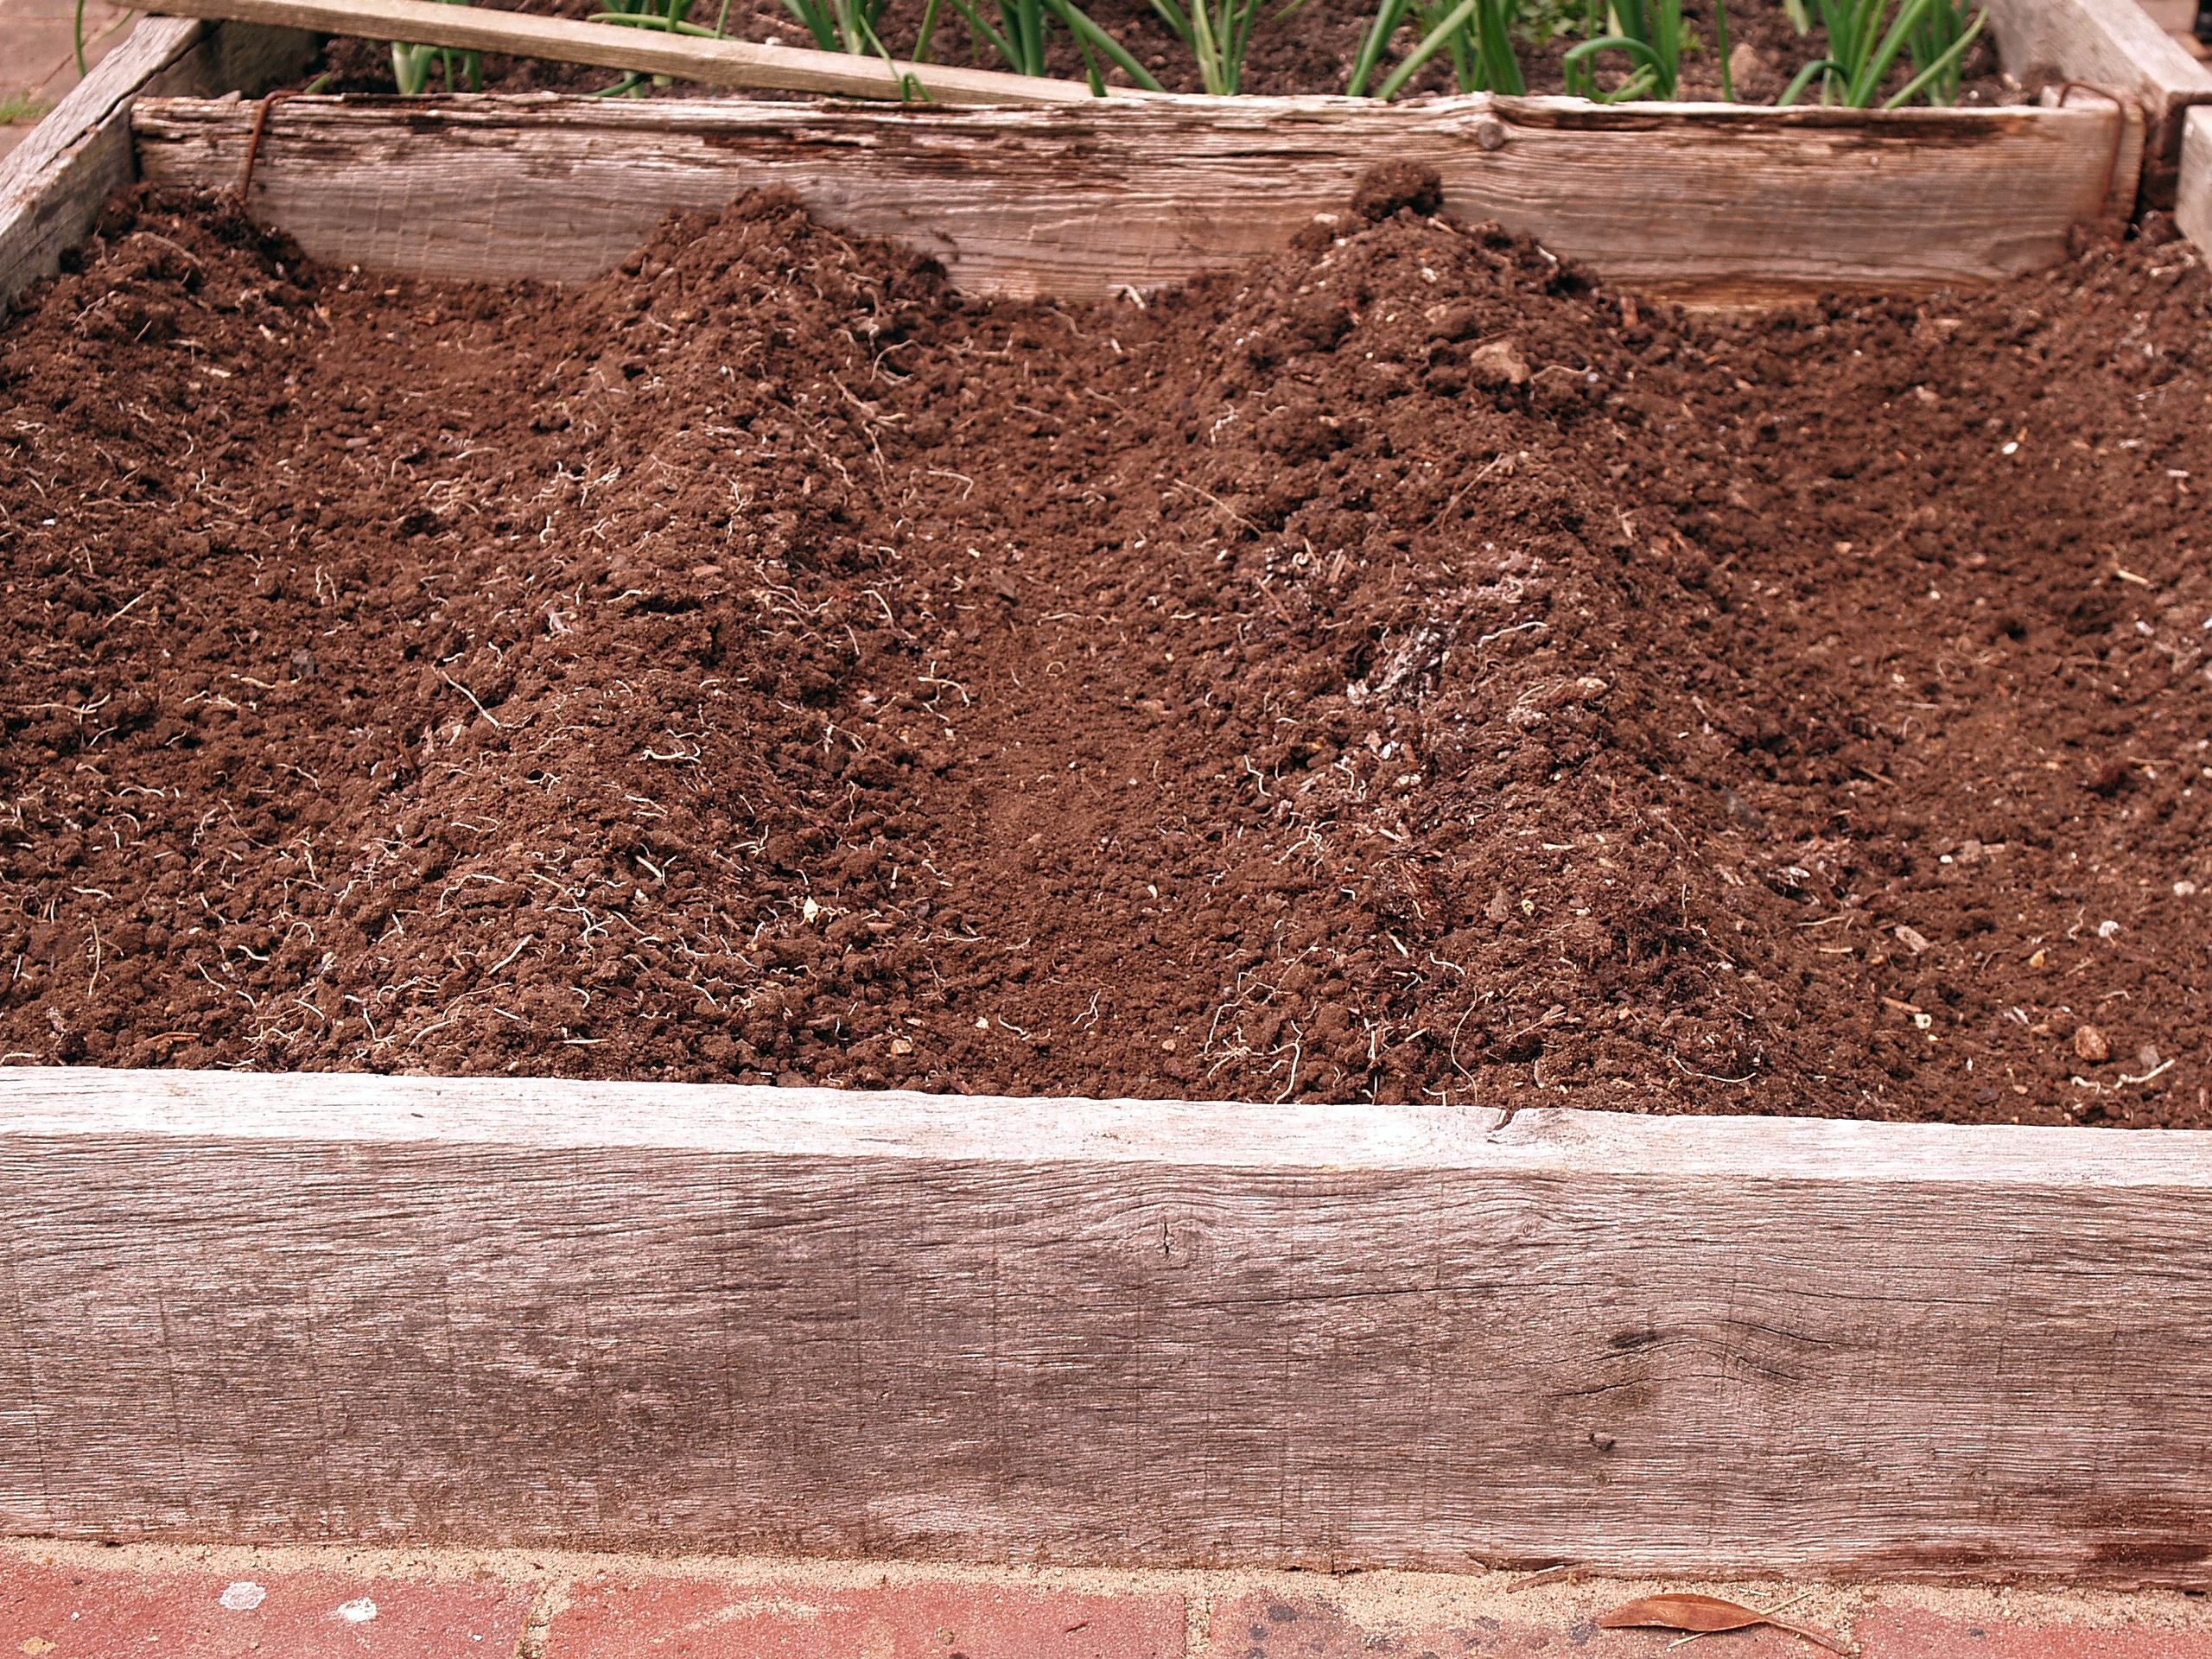
Choose a spot that has not had carrots or other root crops for a year or two to minimise disease build up. Avoid anywhere that has recently been manured as nitrogen-rich soil cause carrots to fork. Ensure the soil is friable so roots can get down easily. Stoney soils will also cause forking. Carrots will suffer from diseases if the soil gets waterlogged. Digging in sand can help clay soils become more suitable for carrots – improving drainage and making them easier to lift. I used one sack of builders soft sand for each 4 x 4ft section of bed. (Some authorities warn against using builders sand apparently because of its ‘possible’ salt content but this doesn’t make much sense as salt weakens concrete so I’m sure it doesnt have significant levels and I’ve never run into problems using it. They recommend horticultural sand, which is washed, but much more expensive)

Weed thoroughly, then dig over the bed, loosening the soil to at least a fork’s depth so that the roots can get down easily.
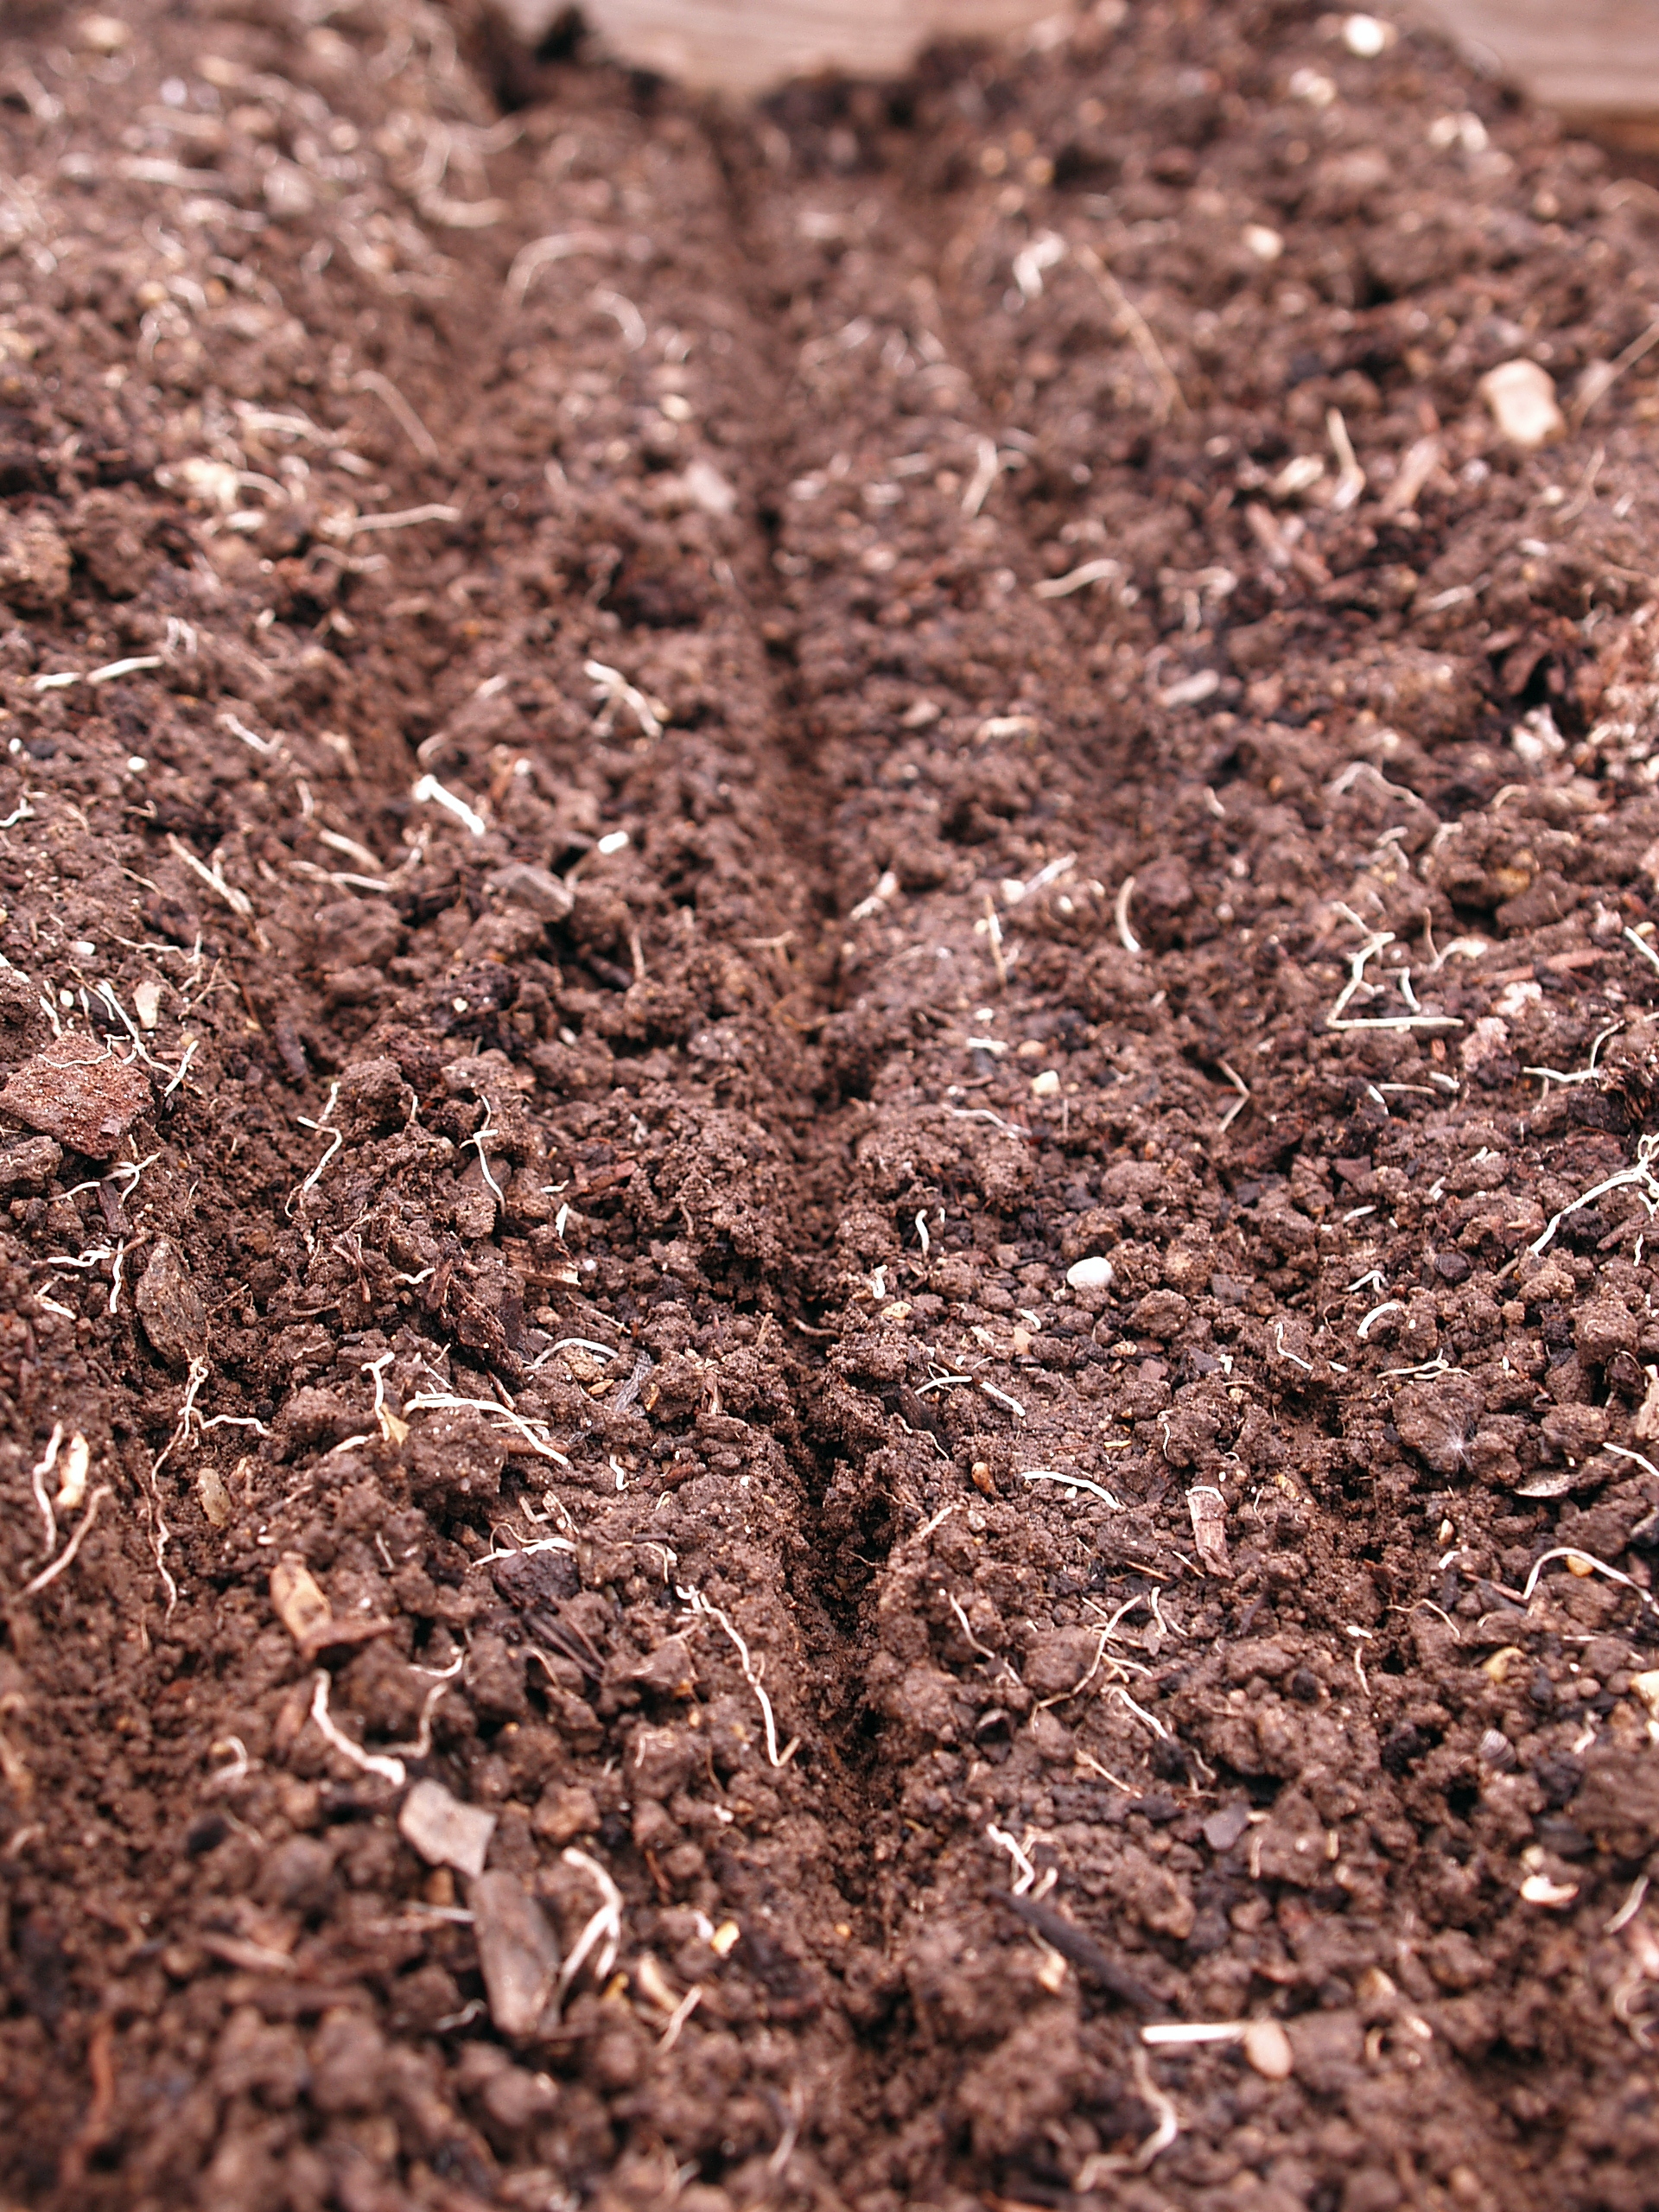
Using a rake, create flat bottomed rills about 18 inches apart. The carrots are going to be planted in the flat bottoms. The mounds help retain moisture whilst directing rain towards the carrots. They also create clear rows which can be dug up in sequence once harvesting starts.
Sowing

Carrot seed is very small. The challenge when sowing is to avoid getting them too close together as individual carrots need to end up 2 inches apart so they can grow to full size. If the seedlings are crowded they will need thinning and this has two downsides: (1) pulling out one seedling can dislodge or damage an adjacent one, and (2) the main carrot pest, carrot root fly, is attracted to the smell of damaged carrot leaves, so you want to minimise such damage.
On the second point – I use a variety that resists carrot root fly such as ‘resistafly’ or ‘flyaway’. These have certainly been good for me, and I have had almost no damage in seven years.

My preferred method is to use the end of a pen or pencil to create individual planting holes, spaced in a diamond pattern, approximately 2 inches apart. It takes time, but I think it is worth it.
The holes should be about 1/4 inch deep (7mm) The packets always say 1 cm deep but I find that at that depth they germinate poorly: they are feeble little seedlings initially, and can’t push through heavy or compacted soil easily.
 The hard bit now (you will need fine fingers for this): place one seed in each hole – as in the photo above. If it lands on the edge of the hole, push it in with the pencil point.
The way I do it is to tip a small heap of seed into my left hand and then attempt to pick up just one at a time with the tip of my right hand finger and thumb. Its hard to avoid picking up two at a time, so I drop them by rolling my finger across my thumb – that way they usually drop separately.

Cover the seeds with fine soil, avoiding clods that they will struggle to push their way up through, and avoiding burying the seeds deeper than 7mm. I pick up small chunks of soil and crumble them into the holes, as one might add salt to food. Gently tamp down with palm of hand, or simply water in.
If the fiddle of creating individual seed holes with a pencil is enough to drive you mad, an alternative method is to create several parallel groves or drills about 7mm deep and 2 in apart as shown above.
You can now thinly sow seed along these mini-trenches, using the pinch and roll finger and thumb method for control. The disadvantage is that they are likely to end up poorly spaced. It is amazing the way that three seeds within a few mm of each other will germinate perfectly, but none oblige in the next 4 inches!
As before, cover then up with some finely crumbed soil and gently firm.
Aftercare
Water well, and keep watered through germination which could be from 10 days once soil is warm, or longer for early spring sowings or in cold weather. Once they are 6 inches tall they will need watering less frequently as their roots go deeper. Some say not watering once past the seedling stage helps the carrots go deeper in search of water and hence create bigger carrots.
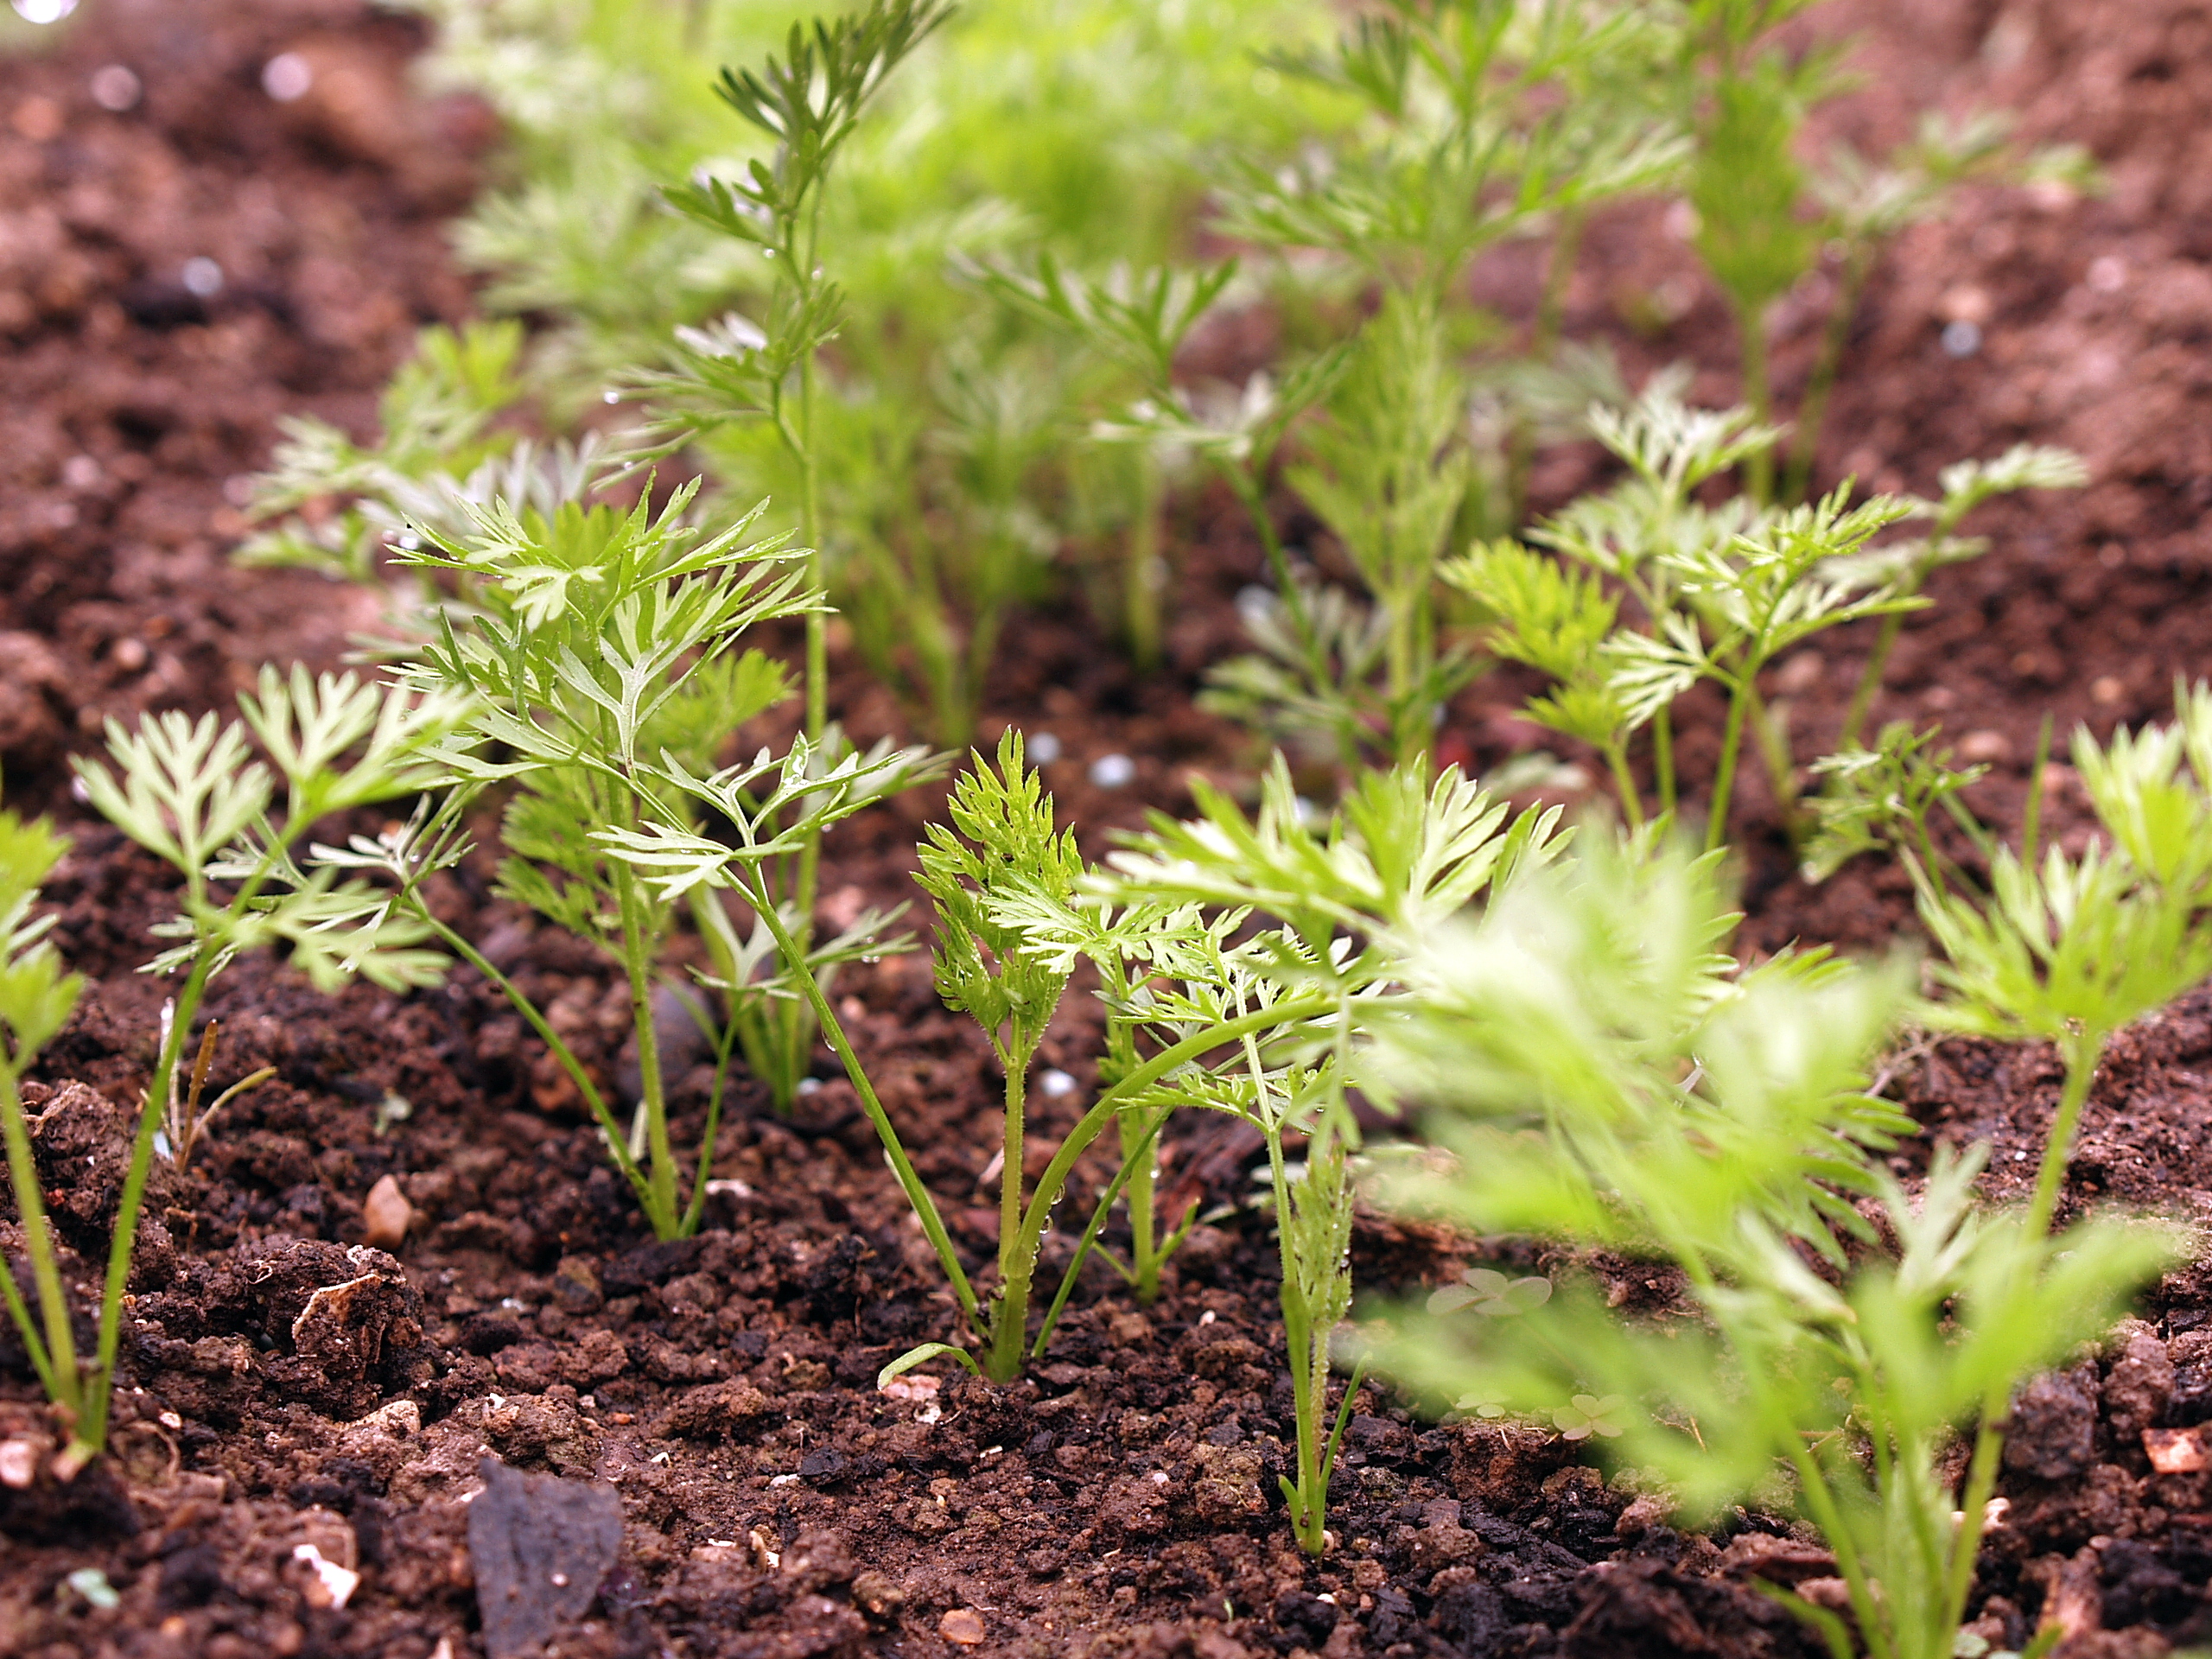
As you can see in the photo above, seedlings from the pencil method are perfectly spaced and only require thinning where I have accidentally dropped two seeds in a hole. Inevitably, some seed does not germinate and so there are a few gaps in the rows. But overall, as long as fresh seed is used, this has proved the most reliable method I have found.

Here are the three furrows nicely filling out with seedlings.
I keep the bed covered with an environmesh frame after sowing, until the plants get too big for a lid. This helps keep cats and birds off the newly dug soil, provides a little shade which reduces moisture loss, and keeps carrot root fly out.
Finally – it is possible to grow a catch crop of radish along the ridges between the carrot rows. These have a quick turn around, and can be harvested before the carrots need the space.
Harvest
March and April sowings may be ready for harvesting small roots from late June or early July. Sowing in early June can produce a crop in Autumn, but these will stand over winter and well into spring (we dig the last of ours in April!)
When you think they are ready to begin harvesting, use a fork to dig out just a few at a time as you need them. Those left in the ground will keep better than those kept in the fridge or a sack – as long as you have slugs under control that is! Slugs can ruin carrots left int he ground.
For winter crops, even if hard frost or snow covers them, the roots are rarely damaged. In really hard winters a layer of fleece might help, but I have never needed it here in the south of England.
